Maps for Sage CRM – User Guide
Maps for Sage CRM lets you view CRM records on a map, find records in an area and work with their locations.
Record View
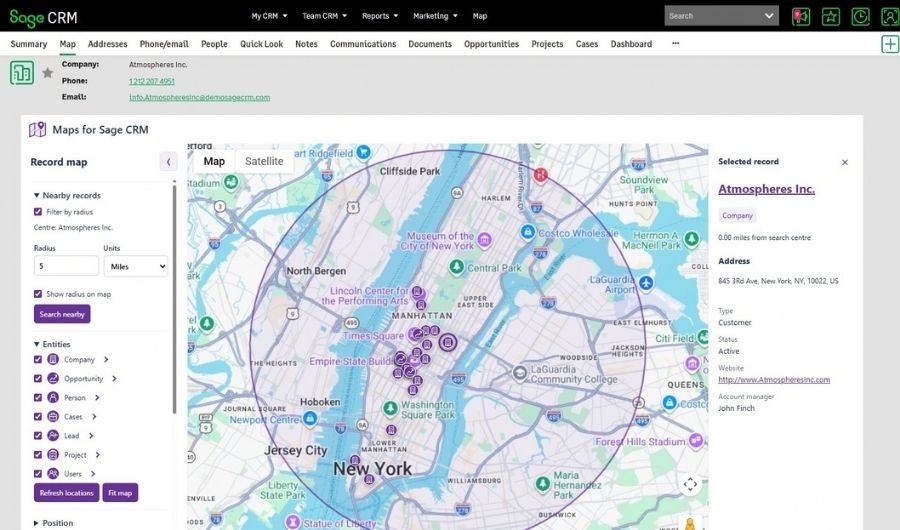
When viewing any mapping-enabled record in Sage CRM, click on the Map tab to view Maps for Sage CRM.
When viewing the map from a CRM record, the map is centered on the record you are currently looking at.
Nearby Records
When viewing Maps for Sage CRM from within a CRM record, nearby records are displayed.
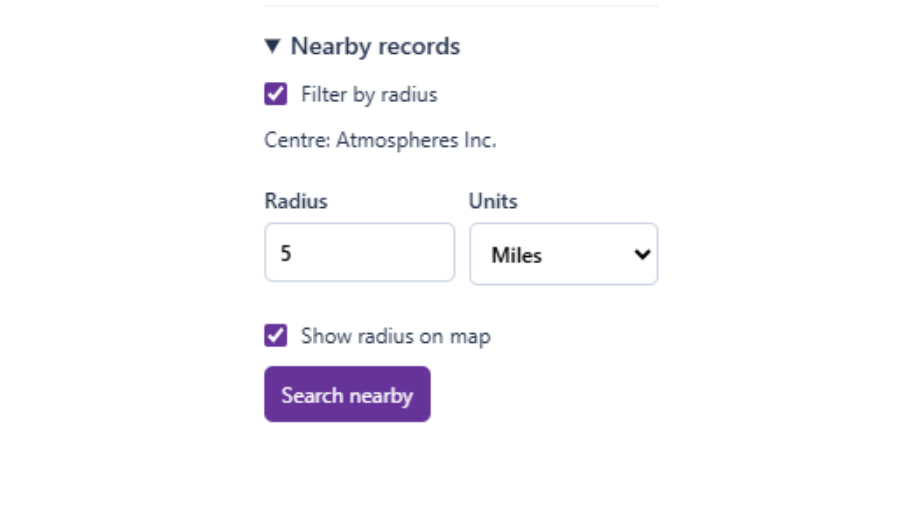
Adjust the radius setting to expand or reduce the area from which nearby records are displayed.
Check or uncheck Show Radius on Map to toggle display of the radius outline.
Additional Addresses
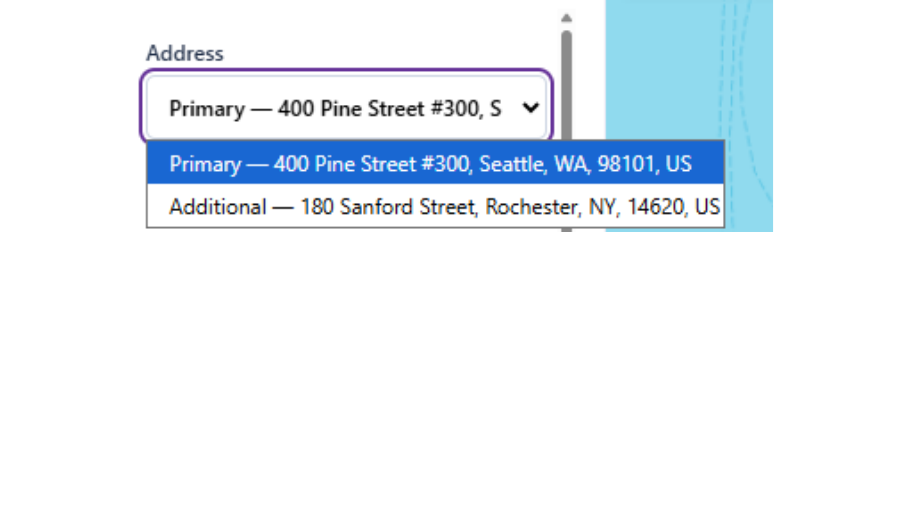
When viewing Maps for Sage CRM from within a Company or Person record which has more than one address, it is possible to select which of the known address you wish to centre on.
Select the address you’d like to centre on from the dropdown. Maps for Sage CRM will make that the centre of the map and the radius settings will then apply in relation to the selected address.
Standalone Map
The standalone map lets you explore records across an area without first opening an individual record. It starts at the location configured by your administrator, or a view remembered during your current session.
Drag the map to move to another area and use the zoom controls or mouse wheel to zoom in or out. The standalone map loads pins for the area currently visible. Zoom in if the view is crowded or the map indicates that more results are available.
Use the search box at the top of the map to search for a CRM record by name or find a place or address.
If pin grouping is enabled, nearby pins appear as a numbered group. Zoom in to separate the group into smaller groups or individual pins, then select the pin you want. Several records may share the same location, particularly where related records use a Company’s address..
Entity Selection
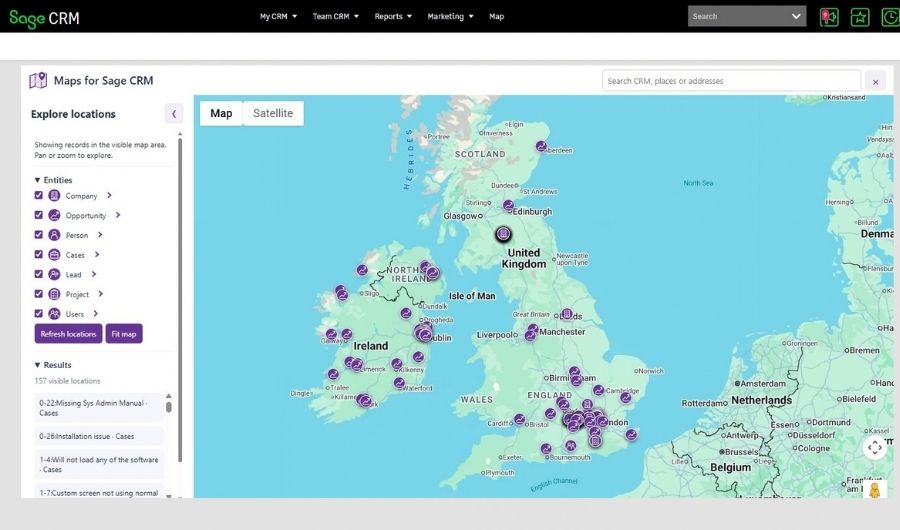
Use the left panel to select the entities you want to display, such as Companies, People, Opportunities or any other configured record types.
You can display several entities together. Their pin icons help distinguish them.
If an entity is unavailable, it may not be configured for Maps or accessible to your CRM account.
CRM Groups
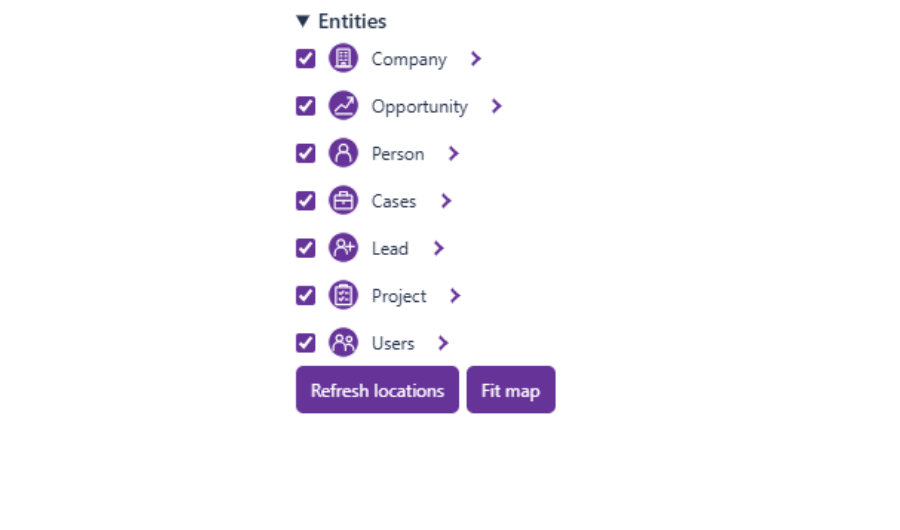
Click on the arrow next to an entity name to reveal filtering options.
Any available CRM groups for the selected entity can be selected to apply that group’s criteria to the map.
Filters
Click on the arrow next to an entity name to reveal filtering options.
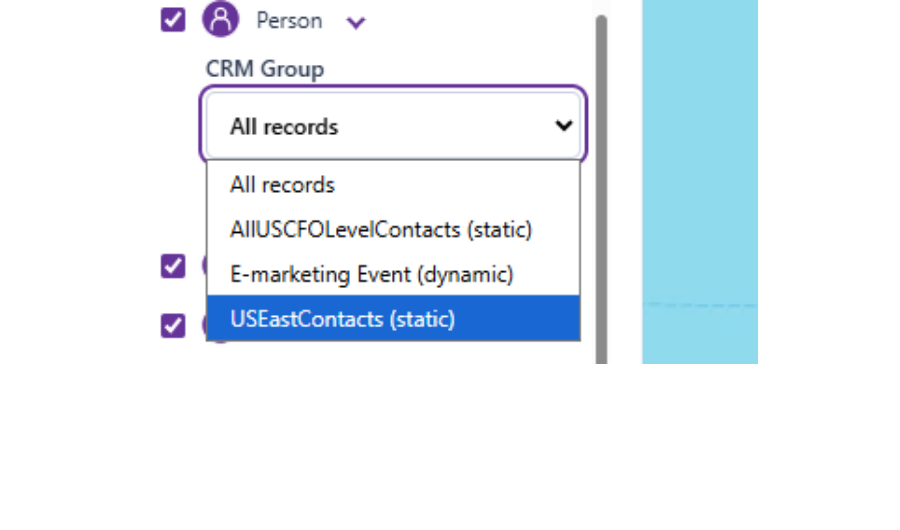
Click on Apply Filter to open up the filtering tool, which allows you to filter the map by defined conditions.
Select from a Saved Filter if any are available. This will populate the conditions below with the stored conditions for the selected saved filter.
Specify whether the filter should apply all of your conditions together, or show records which mean any of your conditions.
Click + Add Condition to add further conditions to your filter.
If you would like to save your filter conditions for future user, click on Save Filter. You’ll be prompted to give your filter a name and it will then be available to select in the future.
With your filter applied to the map, underneath the entity where previously clicked Apply Filter, you can click Edit Filter to amend your conditions or select a different saved filter, or Remove Filter to completely remove it and reset the map back to showing all records.
Viewing Records
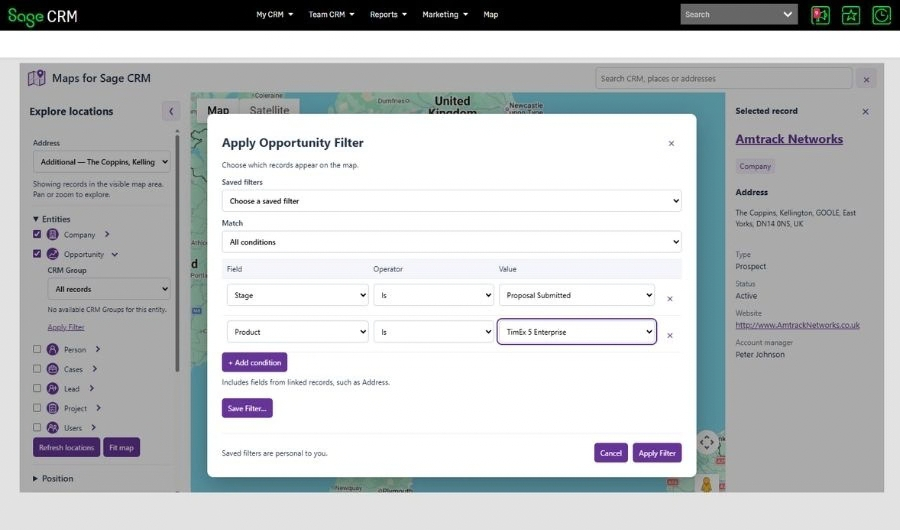
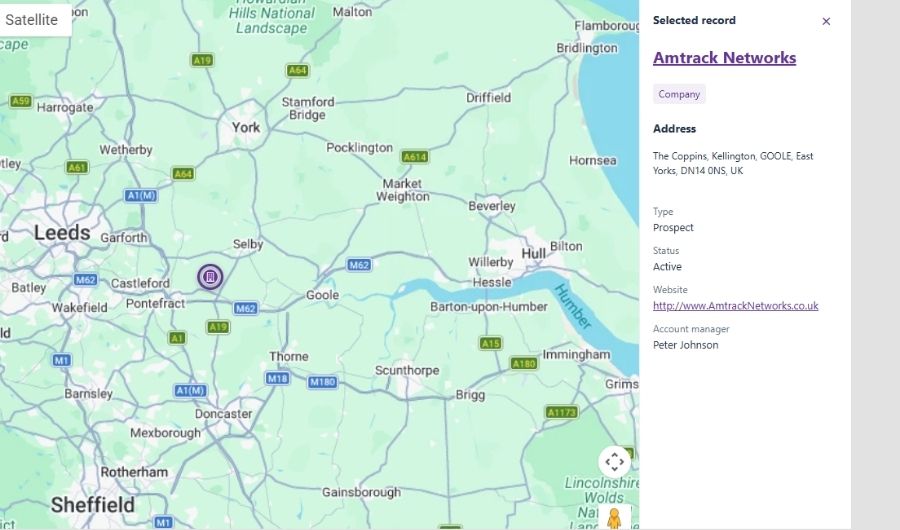
Click a pin to open its record details in the right panel. The information shown depends on the record type and the fields configured by your administrator.
Click on the record name in the details panel to navigate to that record.
Editing Locations
Records are automatically geocoded when they are added or updated, or if mapped in bulk using Maps for Sage CRM’s admin tools.
In some cases, you may wish to adjust the position of a pin and override the automatically geocoded position.
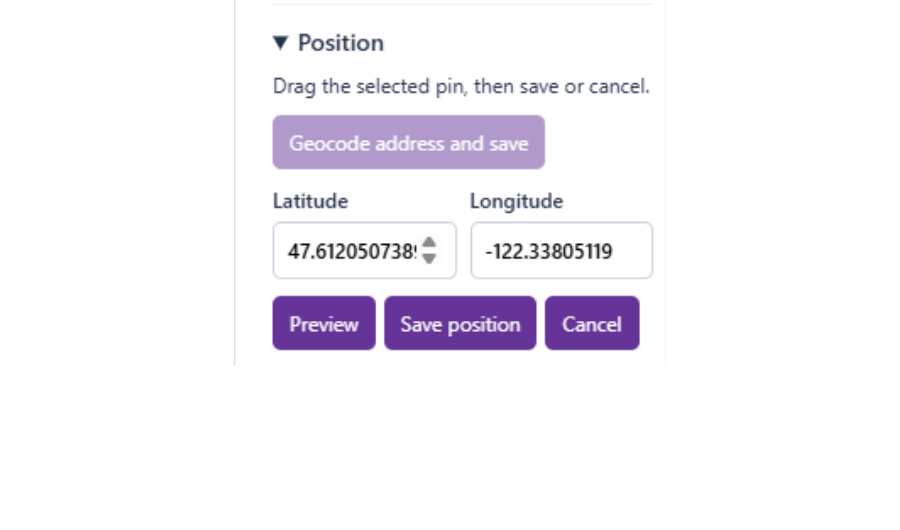
Click and hold on a pin, then drag it to adjust its position. Once the pin is in your required location, in the left panel click Save Location to update the map position for the selected record.
It is also possible to manually enter a latitude and longitude for a record.
Creating Groups
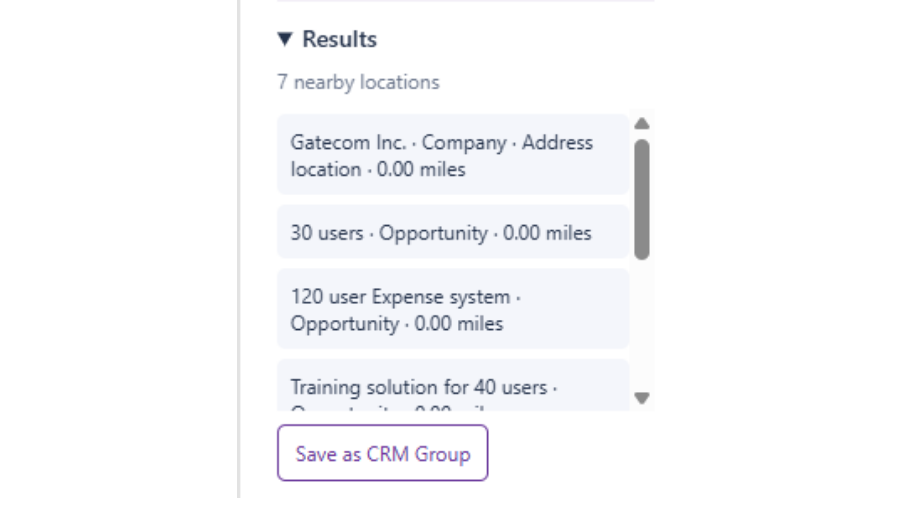
User the Save as CRM Group button in the left panel to save the results currently displayed on the map as a new Sage CRM group.
Select which record type you are creating a group of, give your group a name and optional description, and specify who you would like to be able to access your saved group.